Introduction — a clear problem, quick data, and a question
I’ll say it plainly: a dropped spark can end a shift. In a single refinery near-miss last year, an unnoticed tool slip produced a tiny spark that triggered a costly shutdown (and a lot of worried faces). I bring this up because tools like a non sparking hammer are not a luxury — they’re front-line safety gear when flammable vapors are present. Recent site audits show that 7–12% of hand-tool incidents trace back to material choice or incorrect tool selection; that’s not small. So how do we stop minor impacts from turning into major incidents — without slowing work or breaking the budget?
I write this in a helpful tone because I’ve guided teams through the same choices, and I want you to get practical answers fast. We’ll look at real pain points, technical trade-offs, and the steps you can take today to lower risk. Ready? Let’s move into the core issues and see what’s actually going wrong on the shop floor.
Why traditional tools fail in hazard zones — a technical look
Where do hidden sparks come from?
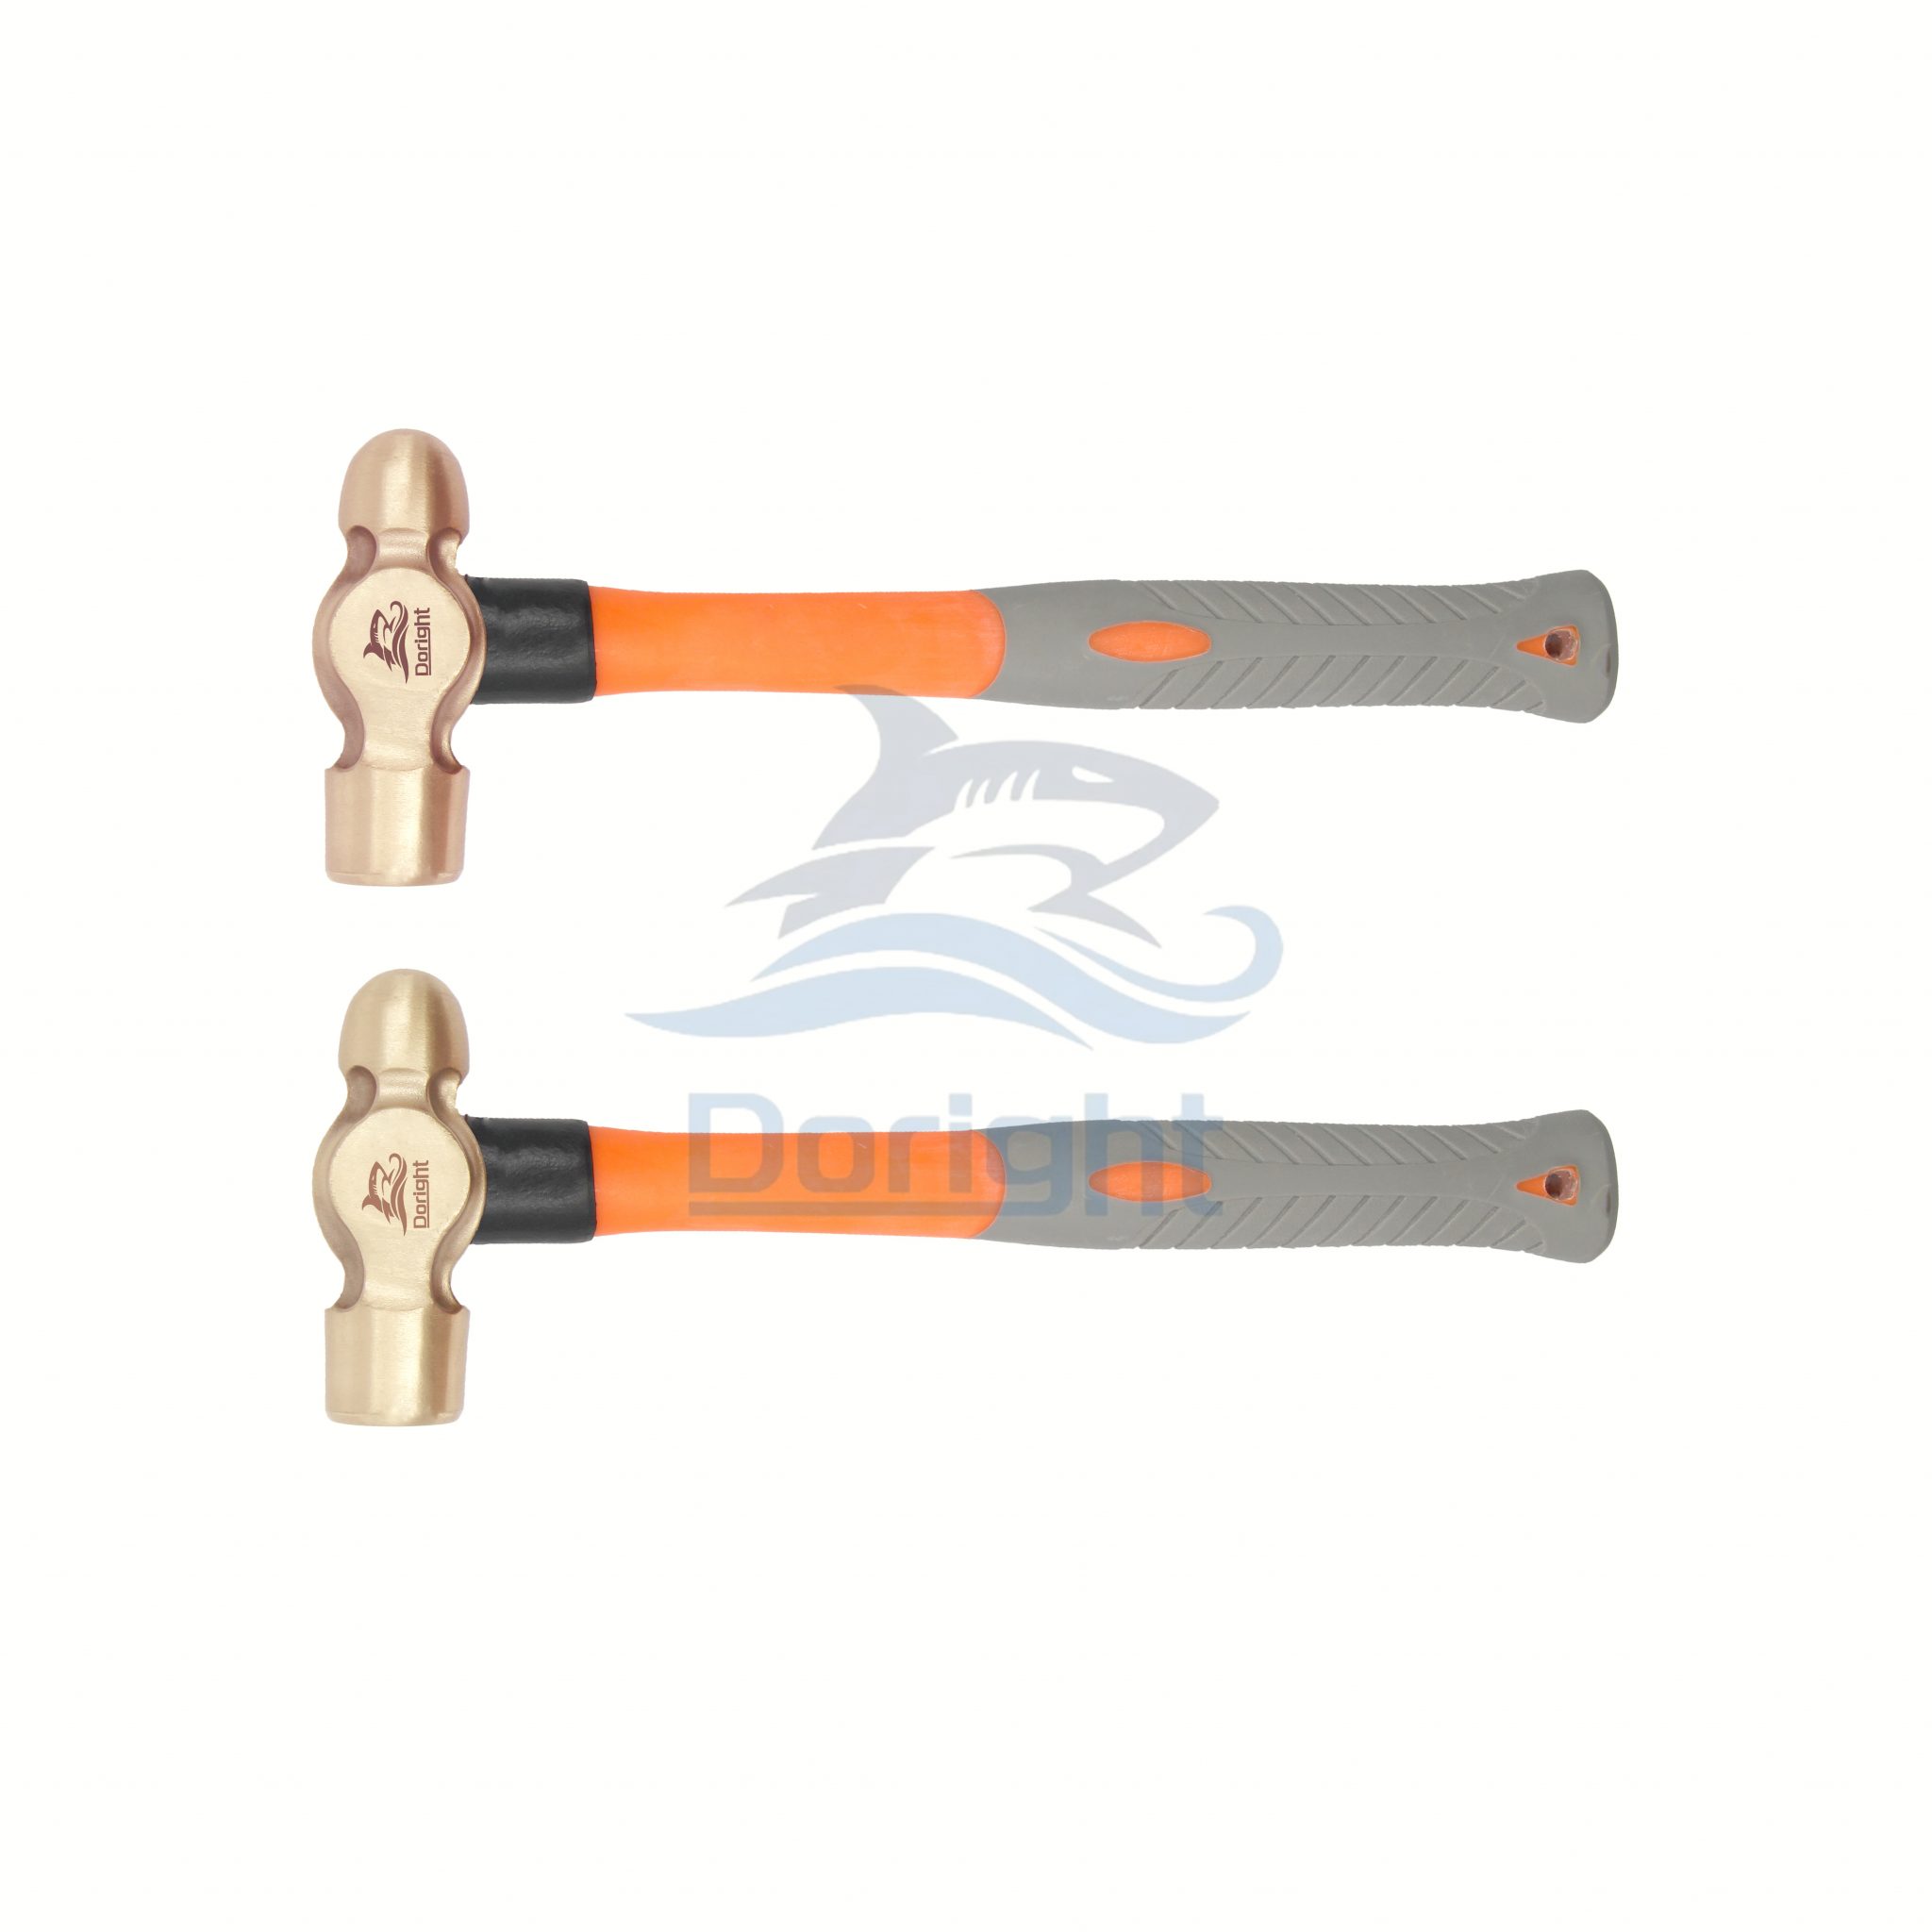
When I talk with maintenance crews, the same theme comes up: conventional steel hammers beat down tasks but can create sparks when they strike grit or castings. An explosion proof hammer is designed to break that chain — yet many sites still rely on standard tools because of habit or cost pressure. Here’s the technical bit: steel-on-metal contact produces high local temperatures and tiny hot particles. If the environment has volatile vapors, those particles can ignite. That’s why material choice matters — bronze alloys or beryllium-copper blends reduce impact friction and lower ignition risk.
Look, it’s simpler than you think: choosing a non-sparking alloy doesn’t erase the need for training or inspection. I’ve seen tools that passed initial spark tests but failed after months of wear. Core failure points include worn striking faces, hidden surface cracks, and improper storage (moisture + salt = fast corrosion). Industry terms to keep in mind: spark testing, ATEX certification, and surface hardness. Address those, and you reduce both immediate ignition risk and long-term replacement costs — funny how that works, right?
New technology principles and a forward view
What’s Next — design and selection tips
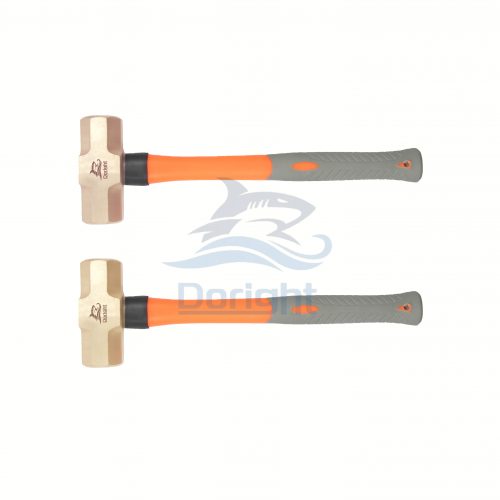
Moving forward, I believe the best approach blends better alloys with smarter lifecycle thinking. New designs focus on controlled energy transfer and corrosion resistance so the tool body can absorb shock without brittle failure. When we evaluate a non-sparking hammer today, we should check alloy composition, heat treatment, and face geometry — these factors influence impact force and wear. In practice, that means asking suppliers for torque ratings, non-magnetic certification, and test reports on conductivity and surface hardness. I prefer tools that come with traceable inspection records; I trust data when lives may depend on it.
Here are three quick metrics I use when advising teams: 1) Material durability (measured by surface hardness and corrosion tests), 2) Certification status (spark testing and ATEX or equivalent), 3) Lifecycle cost (initial price plus replacement frequency). Use these to compare options honestly — it saves money and stress down the line. If you’re weighing brands, consider how easy the supplier makes inspections and whether they offer field testing tools. We’ve found that small upfront effort prevents big headaches — and occasionally, real harm.
Closing advice
I’ll leave you with a simple plan: inspect tools weekly, choose certified non-sparking alloys, and track replacement intervals. Those three steps cut risk fast and show your team you value safety over speed. I’ve seen teams transform their approach in weeks — not months — and morale improves when people feel protected. If you want a reliable starting point, check product lines and documentation from trusted suppliers like Doright. We’re careful with recommendations because I’ve been on both sides of the toolbox — and I’d rather the work get done safely than learn lessons the hard way.